
How to install a shaft repair sleeve for worn shafts or Speedi-Sleeve
Guide to using this fast and cost-effective solution for restoring the working surface of a shaft
Continuous operation of a radial shaft seal can, over time, cause a wear groove to develop on the shaft. When this contact area no longer provides a suitable surface, the sealing lip may lose efficiency and leaks may occur, even after replacing the seal with a new one.
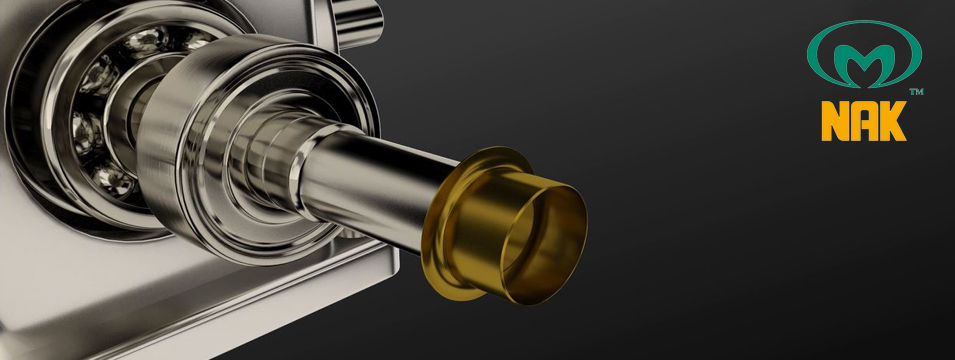
An alternative to machining or completely replacing the shaft is to install a shaft repair sleeve for worn shafts, also commercially known as a Wear-Pro Sleeve or Speedi-Sleeve. It is a very thin-walled metal sleeve that is fitted over the damaged area and provides a new contact surface for the radial shaft seal lip.
Thanks to its reduced thickness, the same seal size can normally be retained, without modifying the housing or selecting a different diameter. This solution reduces maintenance time and cost by avoiding shaft disassembly, grinding or complete replacement.
What is a shaft repair sleeve?
A repair sleeve is a precision cylindrical component designed to cover the worn shaft surface on which a radial shaft seal operates. Once installed, the seal lip no longer runs on the damaged groove but operates on the outer surface of the sleeve.
All models in our Wear-Pro sleeve range are manufactured from SAE 30304 stainless steel and have a wall thickness of 0.28 ± 0.05 mm. The surface is ground to obtain a finish suitable for the sealing lip, with a roughness between 0.20 and 0.80 µm and a minimum surface hardness above 220 HV.
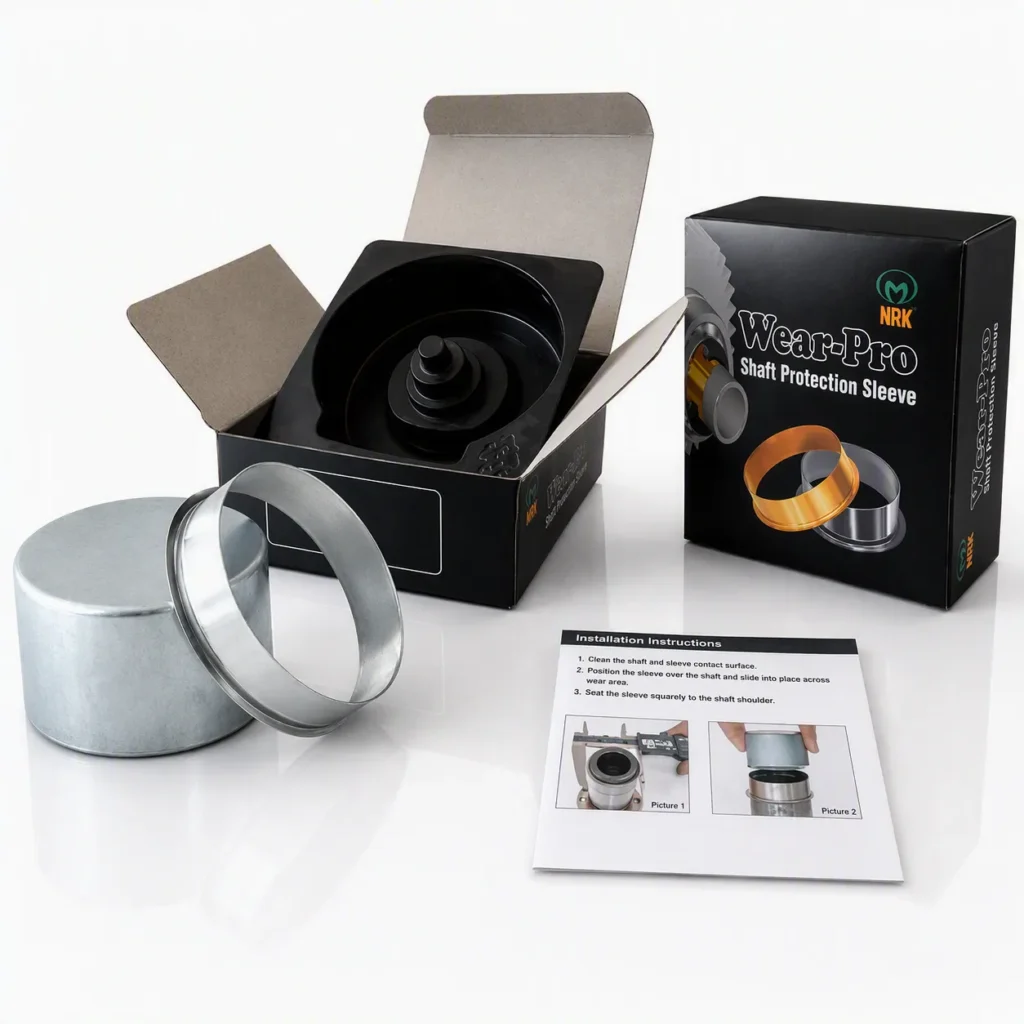
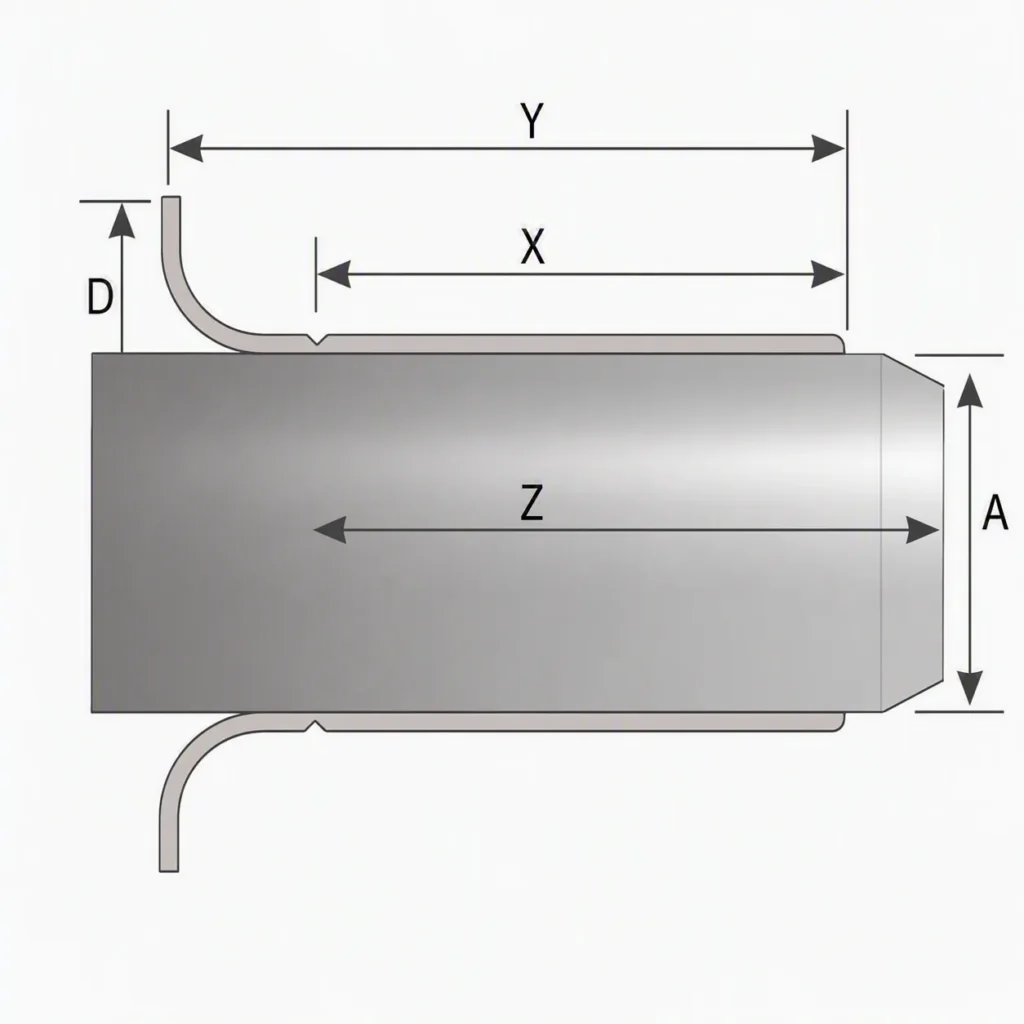
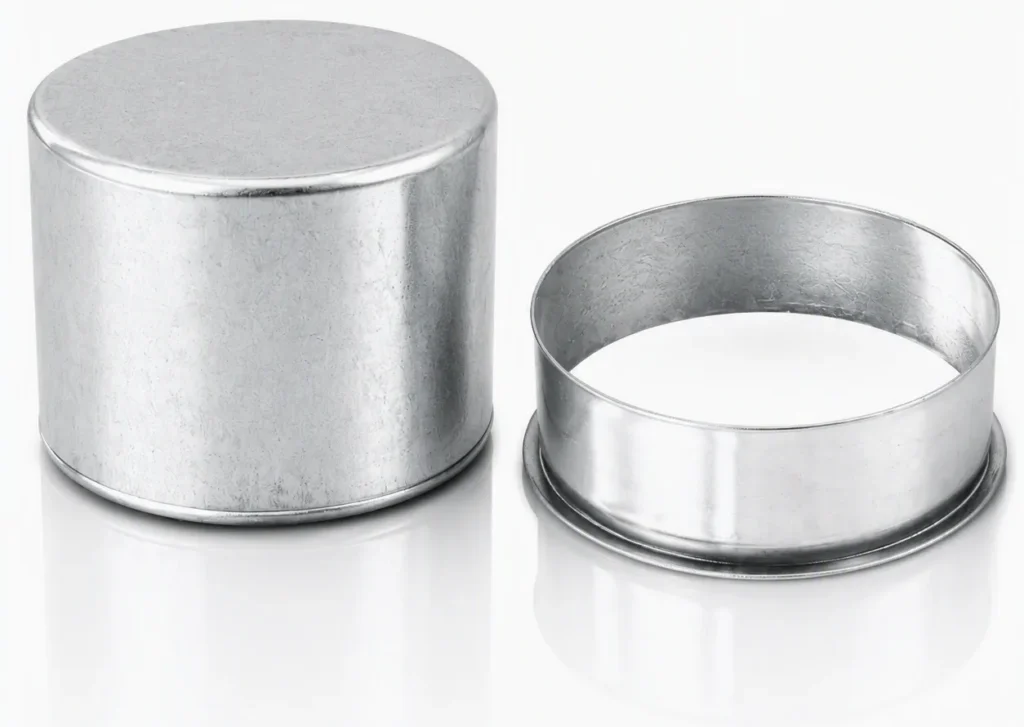
The repair kit mainly consists of the repair sleeve, a mounting flange, a break-off groove to remove the flange if required, an installation tool or mounting sleeve, and the installation instructions.
Main advantages
Installing a repair sleeve offers several advantages over traditional methods, as it allows simple and quick installation, avoids the need to remachine the shaft or replace it completely, allows the same seal size to be used, and provides a new ground contact surface that is resistant to wear and abrasion. In addition, it is available in a wide variety of diameters and widths.
These characteristics make the sleeve a particularly practical solution for corrective and preventive maintenance work on gearboxes, motors, pumps, transmissions, industrial machinery, agricultural equipment, construction machinery and other assemblies fitted with radial shaft seals.
How to choose the correct size
Tools required
Step-by-step installation instructions
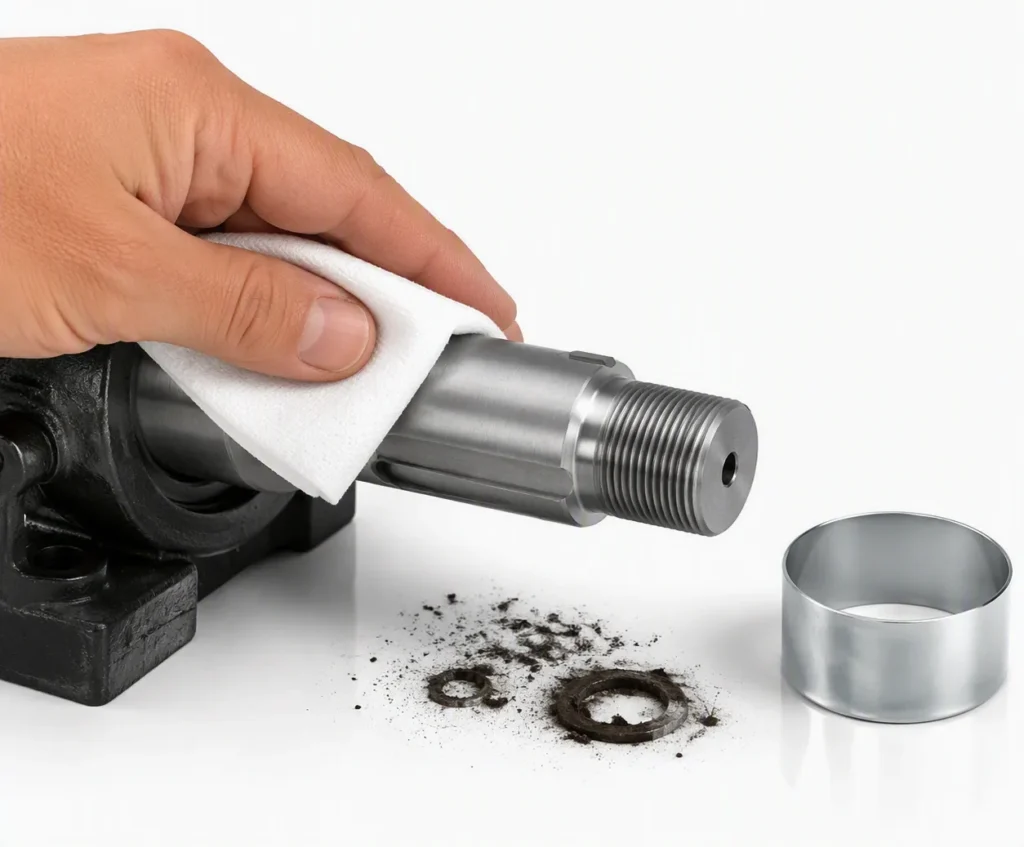
1. Clean the shaft carefully
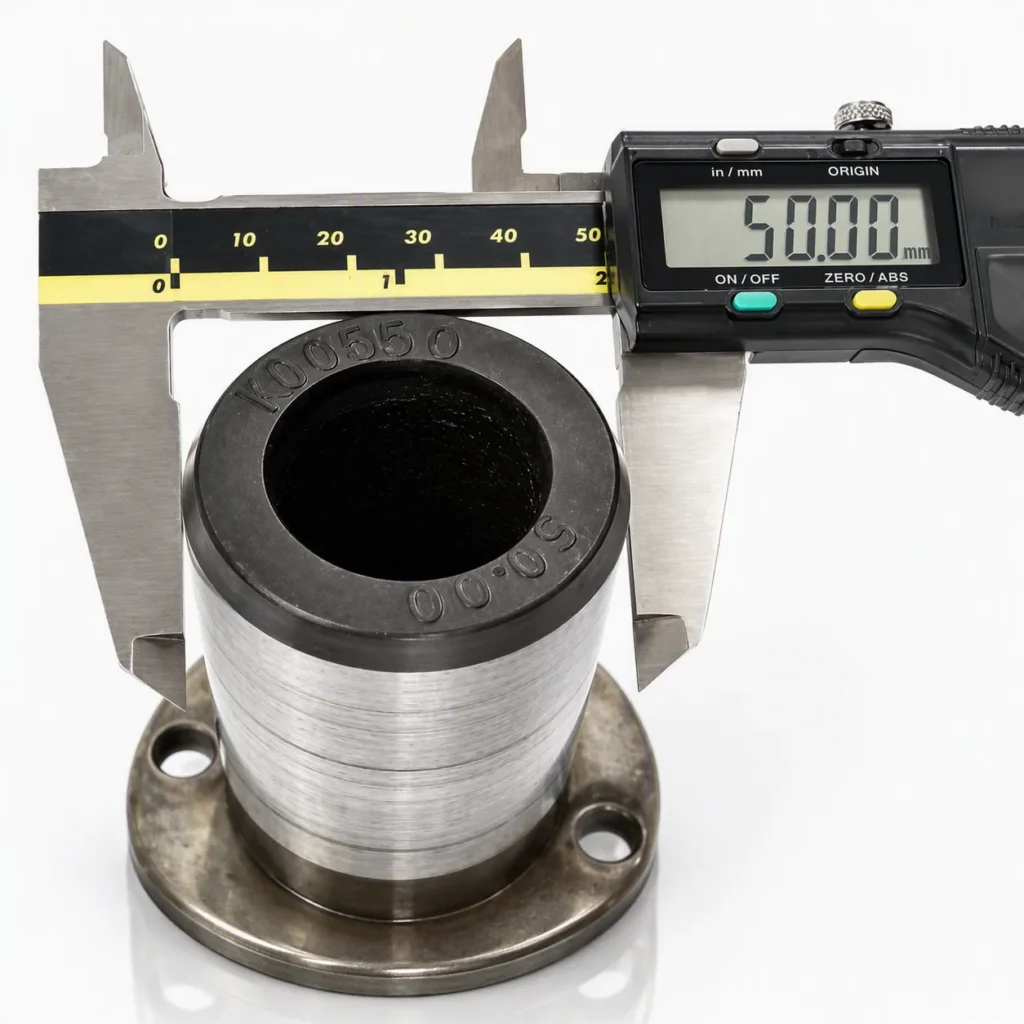
2. Measure the shaft diameter
3. Check the final position
4. Lightly lubricate the shaft
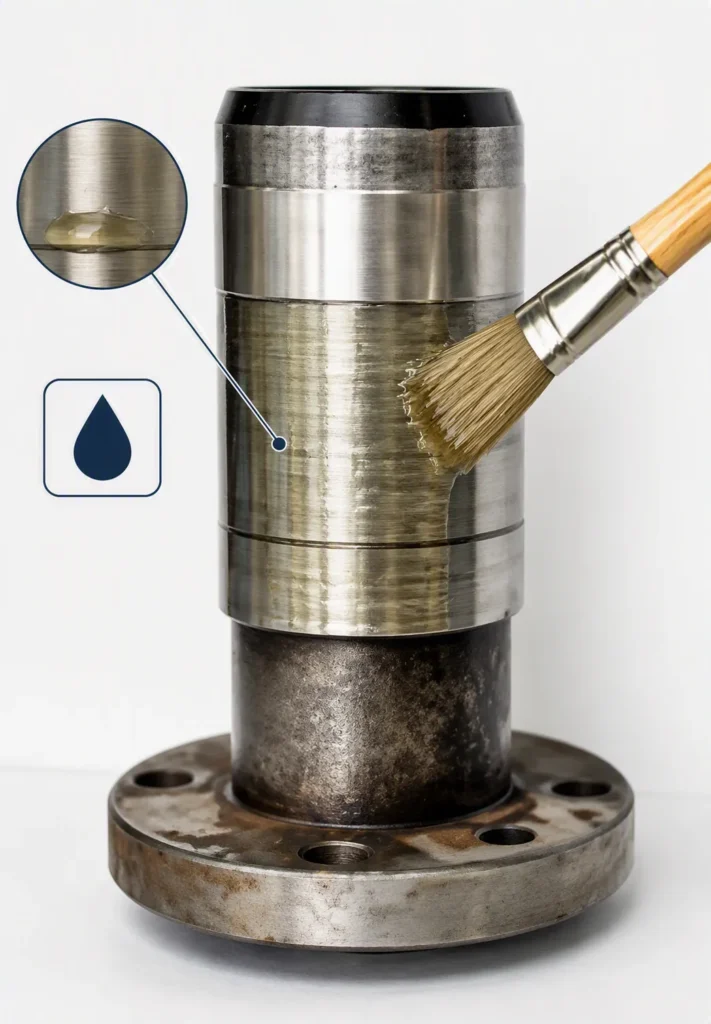
5. Position the sleeve on the shaft
6. Fit the installation tool
Slide the supplied installation tool or mounting sleeve over the repair sleeve. This tool transfers the installation force to the flange and helps the sleeve advance evenly. If the tool is too short due to the length or geometry of the shaft, a longer metal tube may be used as an extension. The end of the tube must be flat, clean and completely free from burrs.
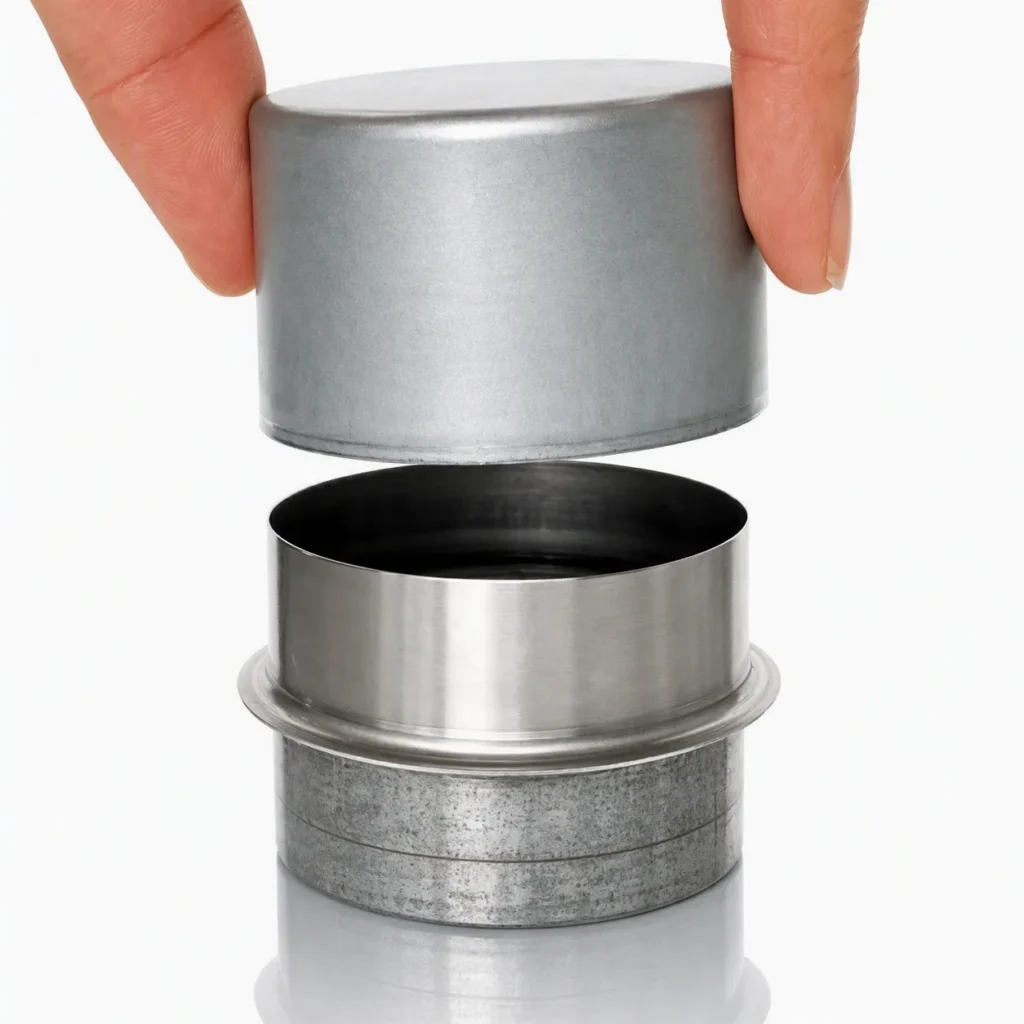
7. Drive the sleeve into the correct position
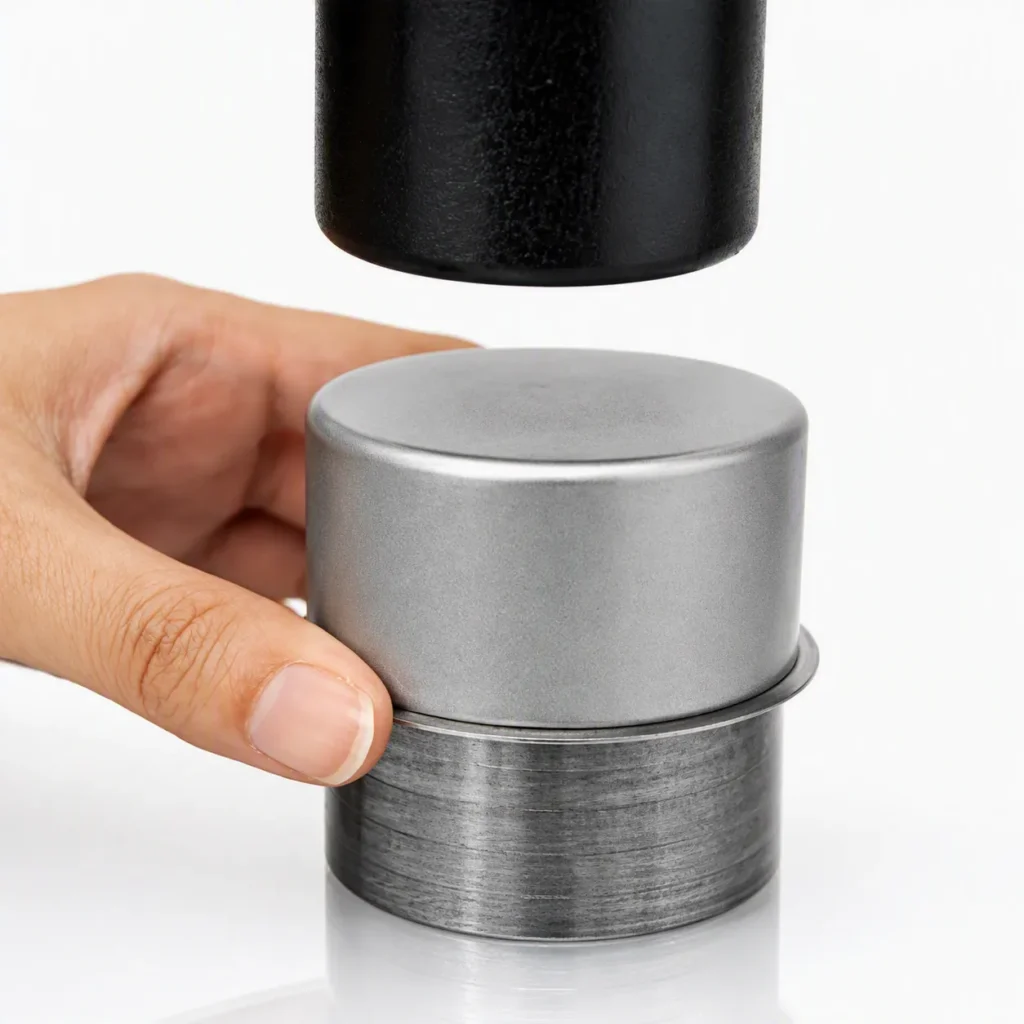
8. Decide whether to keep or remove the flange
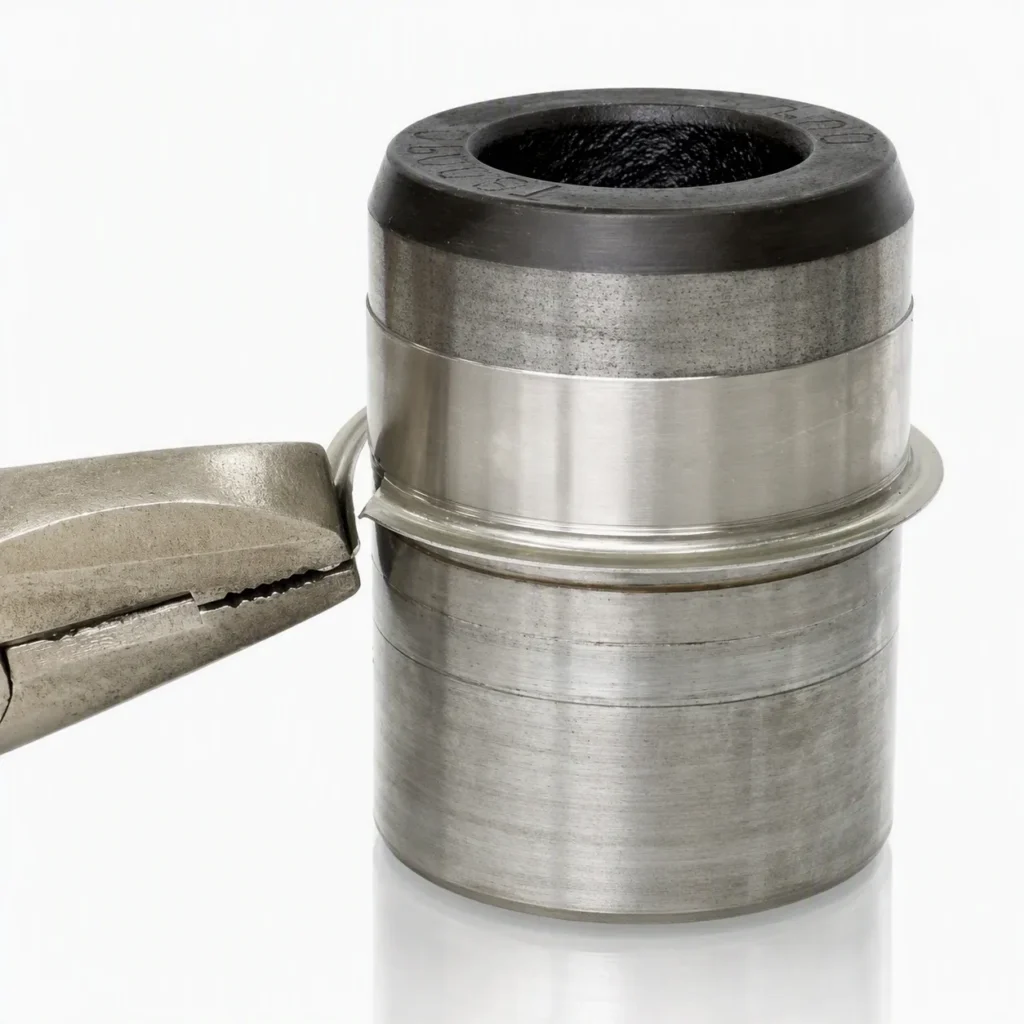
9. Perform a final inspection
10. Lubricate the sleeve and install the seal
Apply a thin film of the appropriate lubricant to the outer surface of the sleeve before installing the new radial shaft seal. Then install the seal following the procedure suitable for its design and application.
The sleeve surface becomes the new running track for the sealing lip. For this reason, it must be kept clean and protected until the seal has been installed.
Mistakes to avoid
- Measuring only on the worn area.
- Selecting the sleeve only by the nominal diameter, without checking the actual range.
- Installing it on a dirty or burred surface.
- Striking the body of the sleeve directly.
- Using a mounting tube with sharp edges or burrs.
- Applying heavy blows or off-centre pressure.
- Leaving part of the worn area outside the useful surface.
- Removing the flange without using the provided break-off groove.
- Damaging the contact track with pliers or other tools.
- Installing the seal without first inspecting and lubricating the surface.
How to remove an installed sleeve
1. Apply controlled heat to help separate the sleeve from the shaft.
2. Apply controlled blows with the peen of a hammer across the width of the sleeve to expand it.
3. Open it using diagonal cutting pliers.
4. Carefully split the sleeve with a chisel.
An effective repair without machining the shaft
Shaft repair sleeves for worn shafts make it possible to easily restore the contact surface of a radial shaft seal. Their thin wall, ground finish and the possibility of retaining the same seal size make them a practical alternative to grinding or completely replacing the shaft.
The reliability of the repair mainly depends on three factors: measuring the shaft correctly, selecting the appropriate reference and carrying out the installation without damaging the sleeve surface.
At OSN, we provide technical advice for selecting repair sleeves, radial shaft seals and sealing solutions adapted to each application. To identify the correct reference, it is recommended to provide the actual shaft diameter, the width of the worn area and the depth at which the new contact track must be positioned.


