
How to measure an O-ring correctly: practical guide to obtaining the exact dimensions
Learn how to measure an O-ring correctly. Methods for obtaining the inside diameter and cross-section, avoiding measurement errors, and selecting the right seal for each application.
O-rings are one of the most widely used sealing elements in hydraulic, pneumatic, industrial, and mechanical applications. However, one of the most common questions from customers is how to correctly identify the dimensions of an O-ring when no reference number or technical data sheet is available.
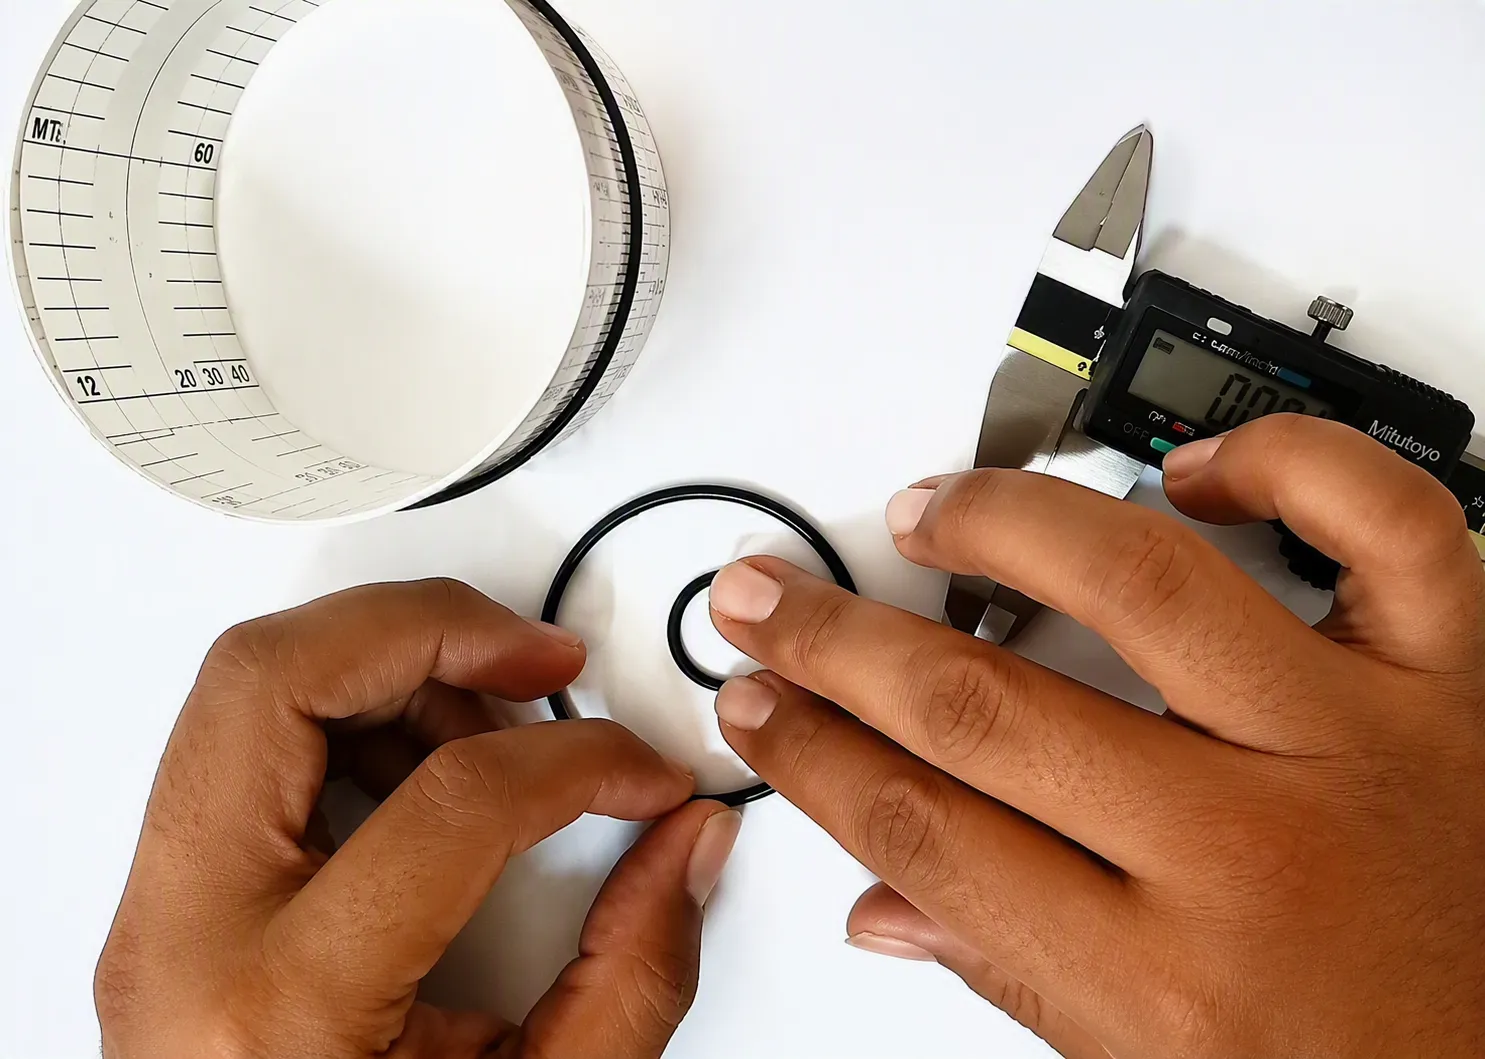
Although measuring a small O-ring is usually straightforward with a vernier caliper, the process becomes considerably more complex when dealing with large-diameter O-rings, especially those above 200 mm inside diameter. In these cases, an incorrect measurement can lead to errors when selecting the replacement seal and may cause sealing problems, leaks, or reduced service life.
What dimensions are needed to identify an O-ring?
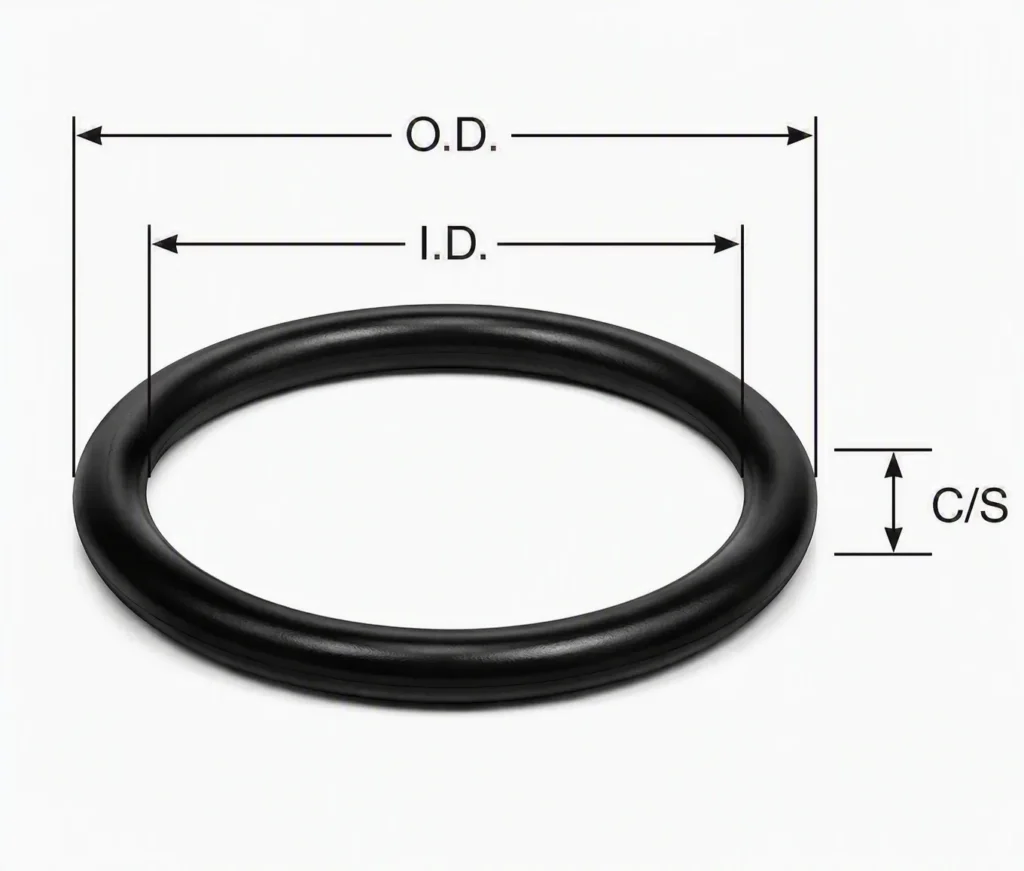
- Inside diameter (ID)
- Cross-section or cord thickness (CS)
Based on these two values, the correct O-ring reference can be determined.
In some cases, the outside diameter (OD) is also used as complementary information, although the standard technical identification is based on the inside diameter and the cross-section.
Method 1: Measuring the housing or groove
Este es el método más preciso y recomendable siempre que sea posible.
La idea consiste en medir directamente el componente donde va instalada la junta tórica, ya que las carcasas, ranuras y alojamientos son elementos rígidos que mantienen sus dimensiones originales y permiten obtener mediciones mucho más fiables que las realizadas sobre una junta usada o deformada.
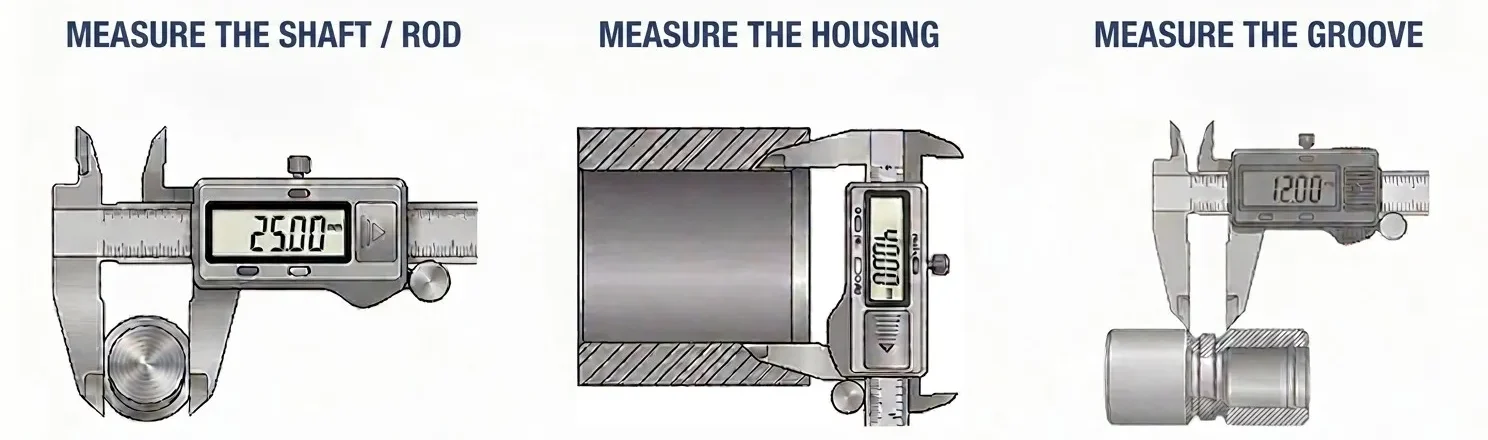
- Inside diameter
- Outside diameter
- Required seal cross-section
Advantages of this method
- Maximum accuracy.
- No need to damage the O-ring.
- Allows the actual installation conditions to be checked.
- Helps select the most suitable material according to pressure, temperature, or movement.
Method 2: Measurement by cutting and developed length
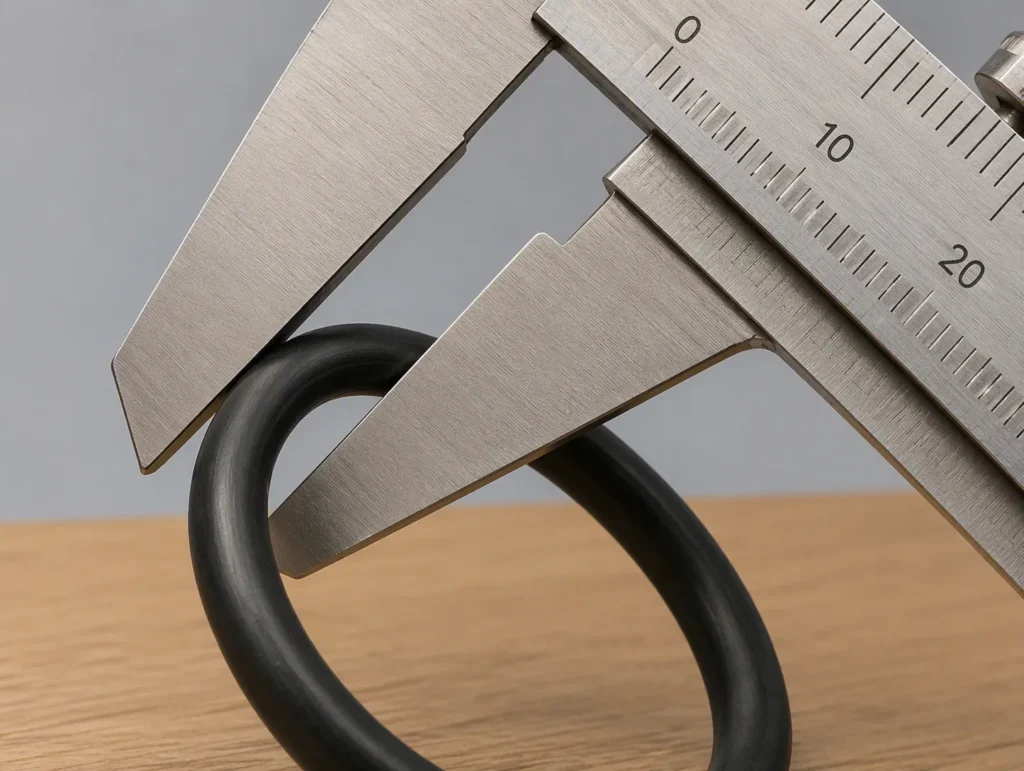
Step 1. Measure the cross-section
Use a vernier caliper or digital caliper to accurately measure the O-ring cross-section.
This value corresponds to the O-ring cord thickness and should be measured at several points to confirm that there are no significant deformations.
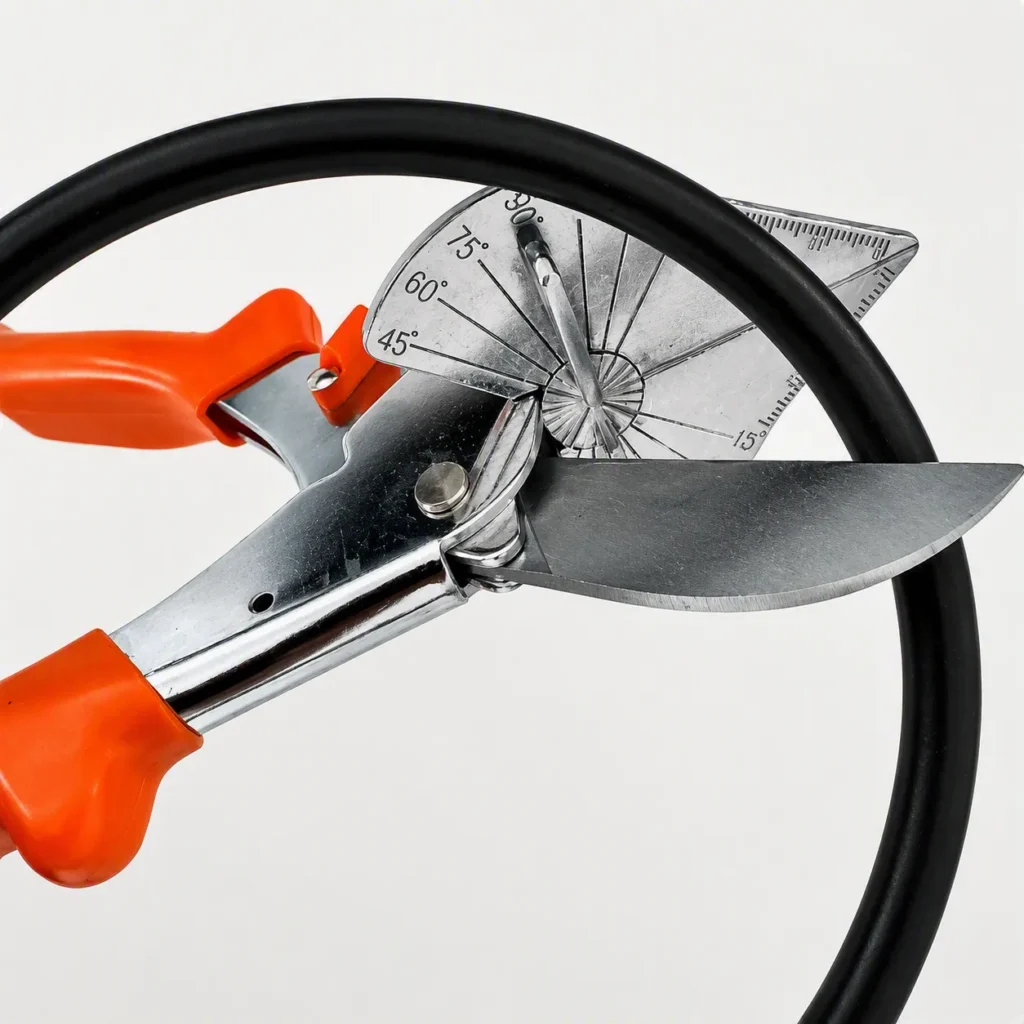
Step 2. Make a straight cut
Once the cross-section has been determined, make a straight cut through the O-ring.
This method should only be used when the O-ring will not be reused afterwards.
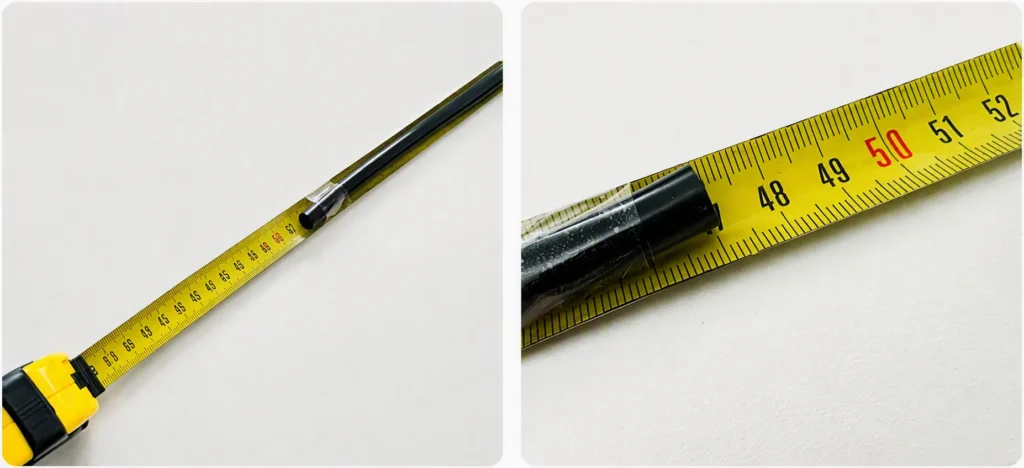
Step 3. Measure the total length
After opening the O-ring, lay it completely flat on a smooth surface and measure its total length using a measuring tape.
For greater accuracy, it is recommended to secure the O-ring to the tape with adhesive tape, preventing movement during measurement.
Step 4. Apply the formula
Once the total length has been measured and the cross-section is known, the actual inside diameter can be calculated.
The original guide proposes the following formulas:
A = Length ÷ 3.142 = Circumference
B = Circumference − Cross-section = Inside Diameter (ID)
For greater mathematical accuracy, π = 3.1416 may be used.
Common errors when measuring an O-ring
- Measuring only the outside diameter.
- Measuring a deformed or stretched O-ring.
- Taking the measurement while the O-ring is twisted.
- Not considering material tolerances.
- Relying exclusively on a visual measurement.
Recommended tools for measuring O-rings
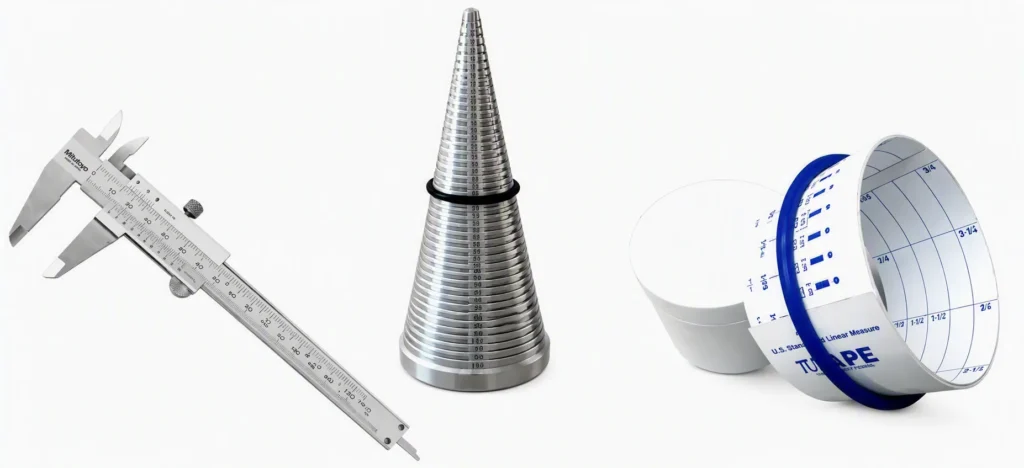
- Vernier caliper or digital caliper.
- Calibrated cones for O-rings.
- Precision measuring tapes.
- Measuring gauges.
- O-ring identification kits.
Need help identifying an O-ring?
- Extensive stock of O-rings.
- NBR, FKM (Viton®), EPDM, HNBR, silicone, and encapsulated PTFE materials.
- Measuring cones and tools.
- Identification kits.
- Manufacture of special sizes.
- Specialist technical advice.


